|
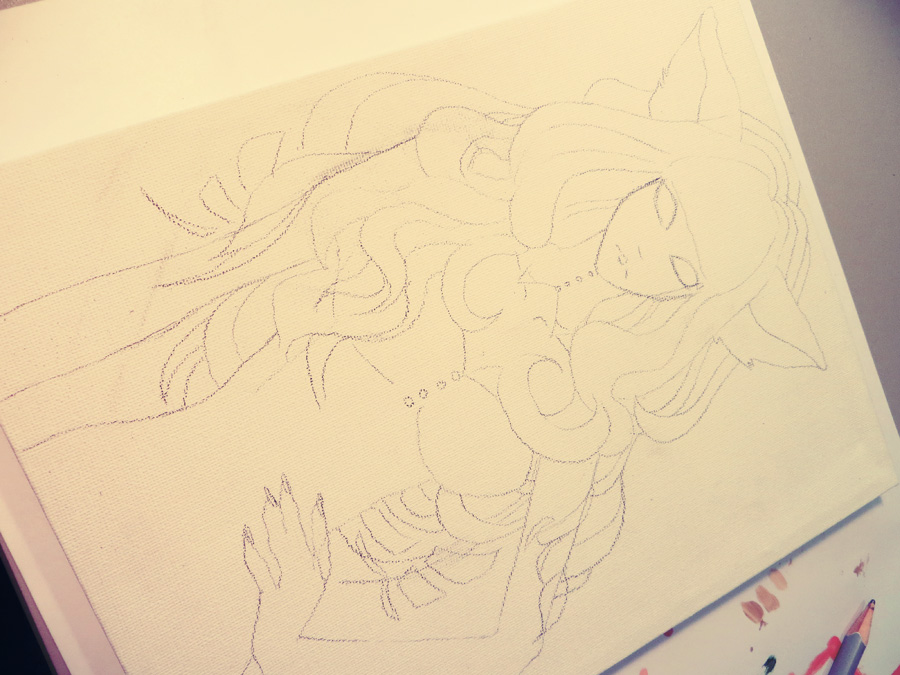
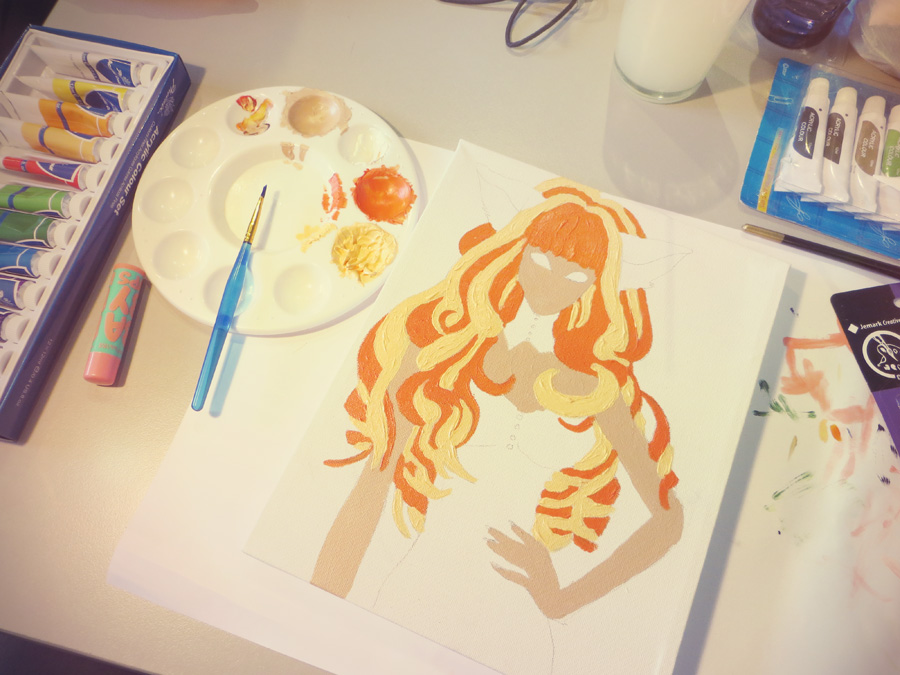
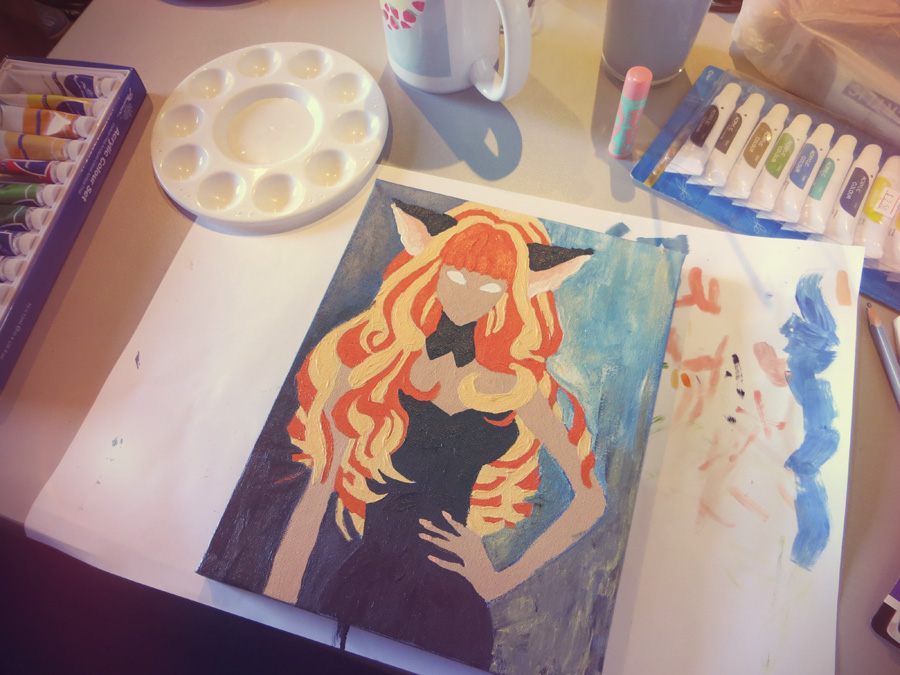
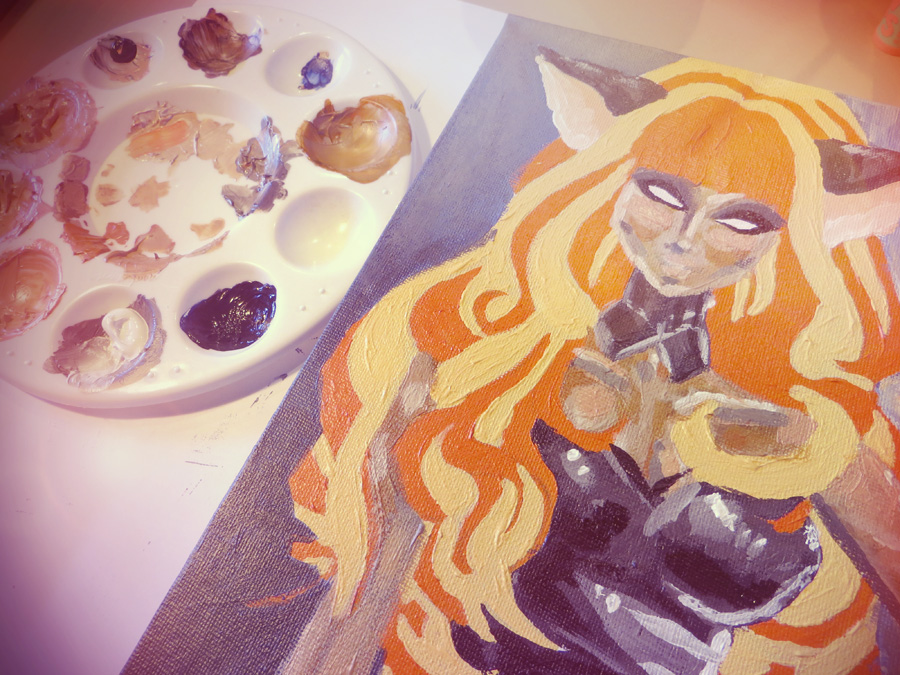
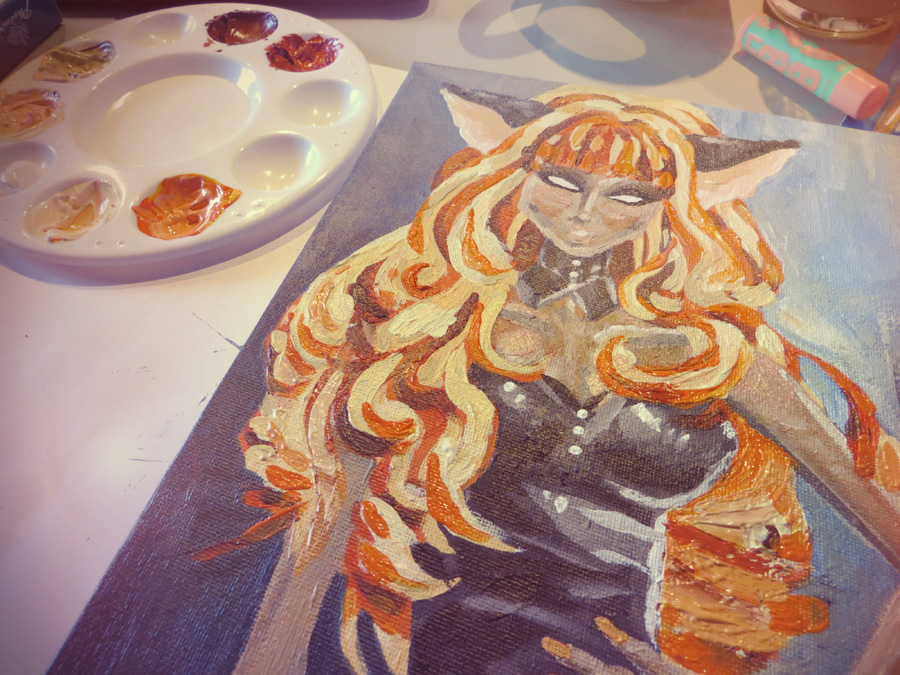
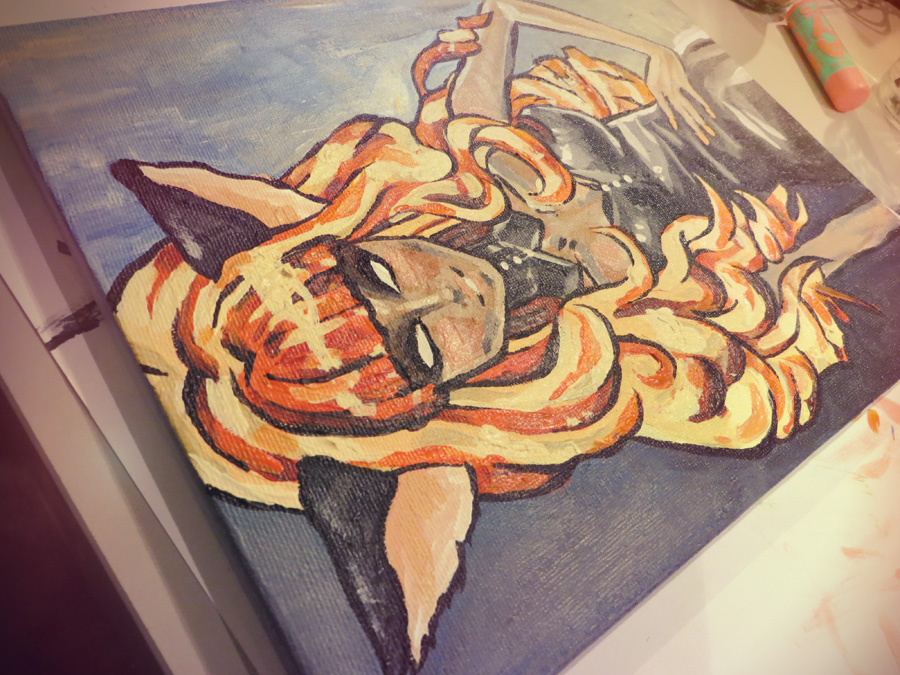
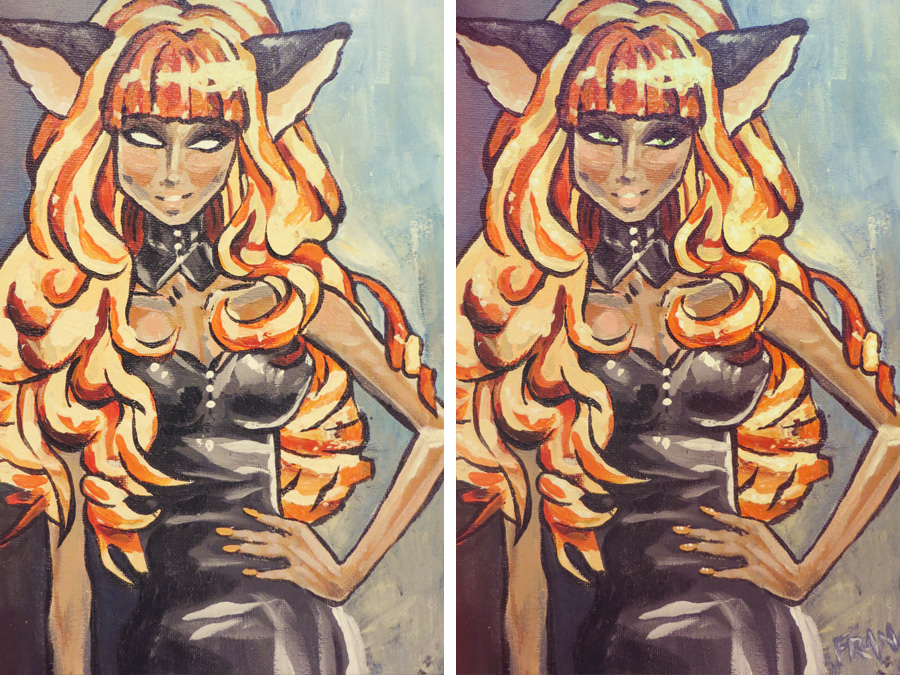
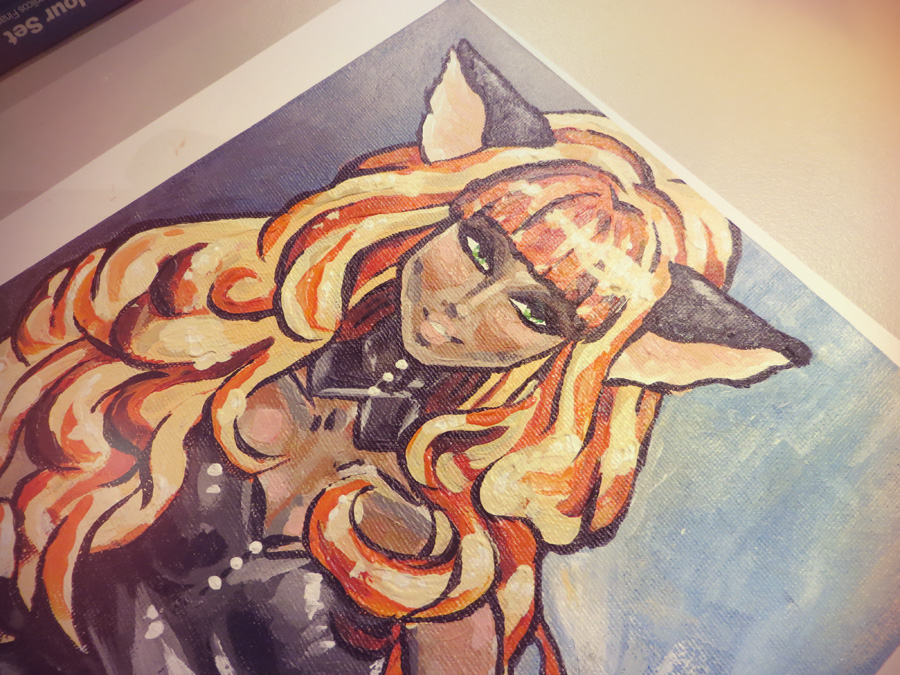
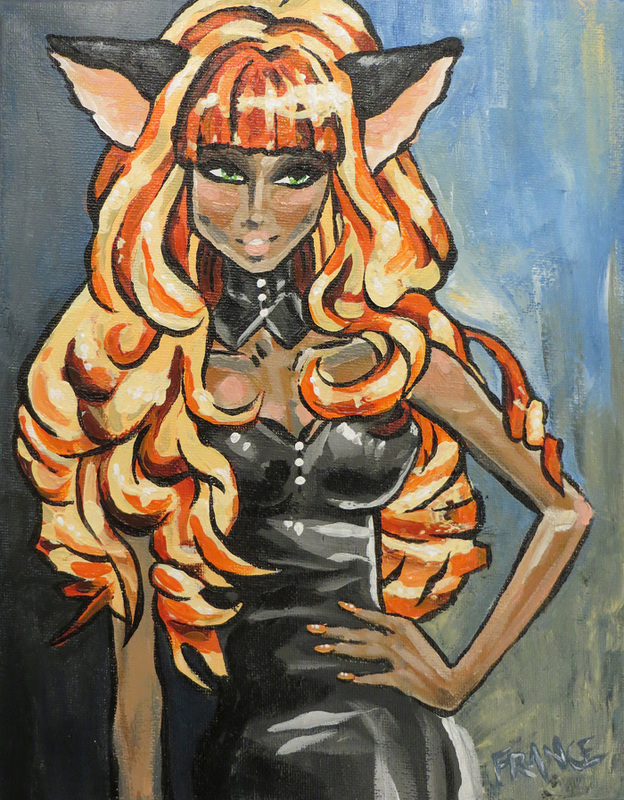
We thought we'd make the most of the Easter long weekend and break out the paints! I've had requests to include some walkthroughs of how we create here at Lune, and I'm happy to share. This is only my second time using Acrylic paints, so this isn't a tutorial - just a walkthrough for anyone who is interested. I am constantly learning (both from tutorials and old fashioned trial & error!). Unfortunately my good camera is broken, so please excuse the potato camera quality. Anyway! On with the show: I started out by drawing a pencil sketch onto my already primed 8x10 inch canvas. I didn't worry too much about detail here as I would be blocking colours in soon. Detail work will come more towards the end. Now I block in different colours; the skin, two tones of hair, her bodysuit and ears, etc. Here I've finished blocking my solid colours in. I don't want to accidentally paint over the girl once I've worked on her, so I make sure my background is worked up and how I want it before moving back to the figure. Now I use different colours and layer up the paint. I quite like a loose, gestural feel to my traditional media artwork, so I keep the strokes broad and "messy". I've gone over all the colour blocked areas of my painting and worked more layers of colour into them. This is the moment when I'm prone to becoming most disheartened with the work, as it usually looks like a big undefined mess. But I tell myself to keep persevering! I've outlined my figure in black, making sure to vary my line weight to keep with the 'gestural' feel of the piece. Adding the lines really tightens the work back up, and by this stage I'm feeling better about the piece. Almost done! I usually leave eyes till the end... I'm not sure why. I quite like the "evil" look I guess. But I decide she needs to be less "possessed" and more "sultry", so I give her some seductive green eyes. I also plumped up her lips and added white highlights to her hair and nails. Finished! And here's the final piece without any filters, just to show the true colours. We hope you enjoyed this little peek behind the scenes at Lune.
1 Comment
Kaz
4/19/2014 01:34:33 pm
Thanks for sharing, this was really interesting! Love the piece as well :)
Reply
Leave a Reply. |
AuthorDanish for 'whimsy', Lune is dedicated to all things cute and curious. We aim to provide unique clip art and designs for personal and small business needs, all available through our Etsy store. Archives
August 2018
Categories
All
|

 RSS Feed